Choosing a bathroom vanity is one of those decisions that seems straightforward until you start looking at the details. Because it sits at the intersection of daily utility, heavy plumbing, and high-impact design, getting the specifications right matters immensely to how your bathroom functions for the next fifteen or twenty years. This guide breaks down the critical decisions on sizing, construction, materials, and storage so you can build a space that looks beautiful and works flawlessly.
Finding the Right Size and Height
The physical footprint of your vanity dictates the flow of the entire bathroom. A vanity that is too large chokes the room's traffic path, while one that is too small leaves you with awkward, hard-to-clean gaps against the walls.
Sizing for Single and Double Configurations
When planning your layout, keep the following dimensions in mind for a comfortable daily experience:
- Single Vanities: Typically range from 30 to 36 inches in width. This offers a generous basin while preserving open floor space in smaller guest baths or powder rooms.
- Double Vanities: Typically range from 60 to 72 inches. While you can find double vanities as small as 48 inches, they often feel cramped when two people use them simultaneously.
- The Golden Rule of Counter Space: Aim for a minimum of 24 inches of countertop width per user. This ensures you have enough room for toiletries, soap dispensers, and elbow room without feeling crowded.
Standard Height vs. Comfort Height
Vanity heights have shifted significantly over the last decade. Historically, the standard height for a bathroom vanity was 32 inches. This was a holdover from an era when children shared the primary bathroom.
Today, "comfort height" vanities, which stand at 36 inches (the same height as standard kitchen counters), are the most popular choice in modern residential remodels. The extra four inches greatly reduce the strain on your back when bending over to wash your face or brush your teeth. Standard 32-inch vanities are still useful in homes with small children, but for primary suites and guest baths used mainly by adults, 36 inches is the modern standard.
Wall-Mount vs. Floor-Mount Vanities
How your vanity meets the floor changes both the visual weight of the room and the installation requirements.
| Feature | Wall-Mount (Floating) | Floor-Mount (Freestanding/Plinth) |
|---|---|---|
| Aesthetic | Modern, minimalist, airy | Traditional, transitional, classic |
| Storage Capacity | Moderate (bottom is open) | Maximum (uses full footprint) |
| Installation Difficulty | High (requires structural wall reinforcement) | Standard |
| Cleaning | Easy to mop underneath | Dust can collect in tight floor seams |
The Floating Vanity Appeal
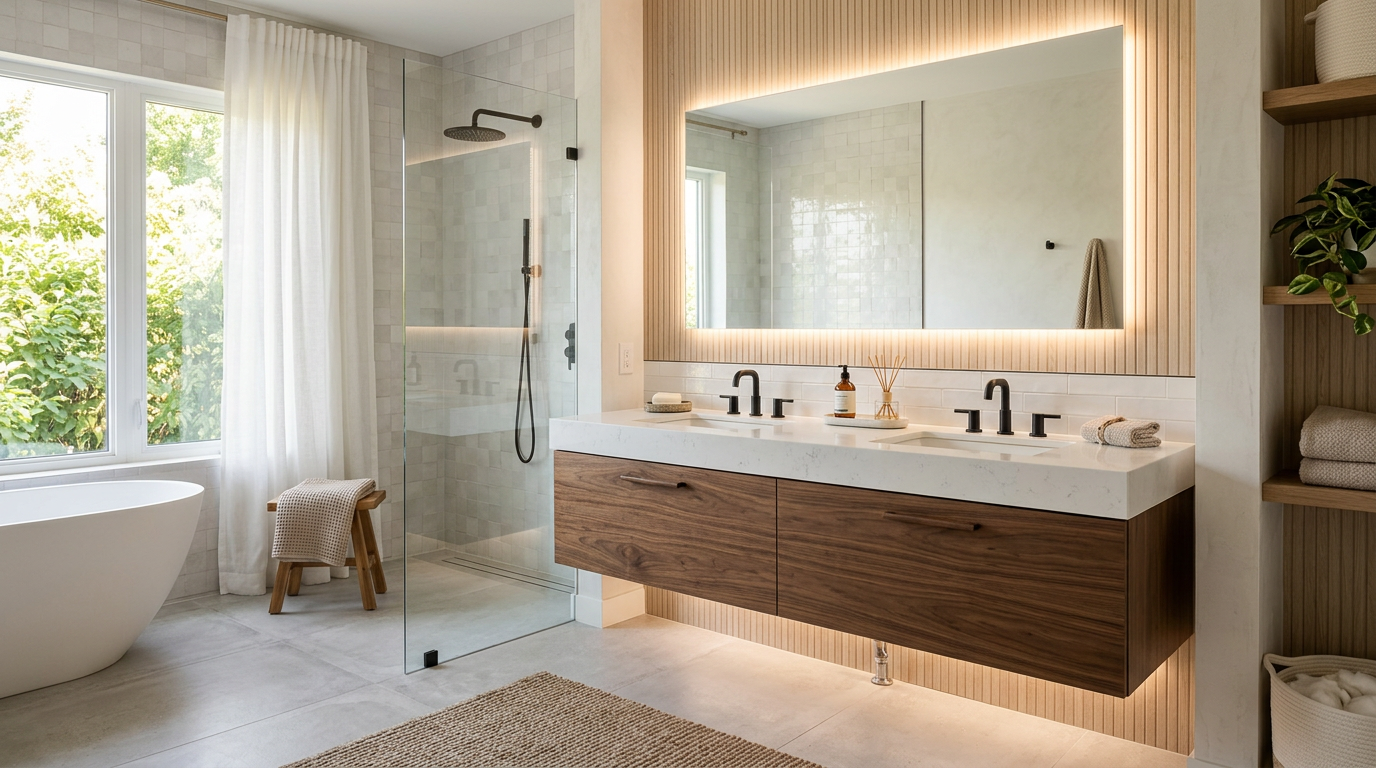
Wall-mount vanities elevate the cabinet off the floor, exposing the tile underneath. This trick of the eye makes small bathrooms feel larger because the floor plane is uninterrupted.
However, floating vanities demand hidden structural support. You cannot simply screw a heavy floating vanity into standard drywall. During the framing stage of a remodel, your contracting team must install heavy wood framing—called structural blocking—between the wall studs. This ensures the wall can bear the immense weight of the solid cabinet, heavy stone countertop, basin, and the inevitable weight of someone leaning on the edge of the counter.
The Floor-Mount Classic
Floor-mount vanities rest directly on the ground or on integrated legs. They are generally simpler to install because the floor carries the weight. Because they extend all the way to the floor, they offer more cubical storage space, making them highly practical for families who need to store tall bottles, stacks of towels, or extra paper products.
Materials: What Holds Up to Water?
Bathrooms are harsh environments characterized by high humidity, dripping water, and rapid temperature swings. Buying a vanity made of cheap materials is a recipe for warped doors and sagging drawer bottoms within a few years.
+-------------------------------------------------------------+
|                      MATERIAL HIERARCHY                     |
+-------------------------------------------------------------+
| Best:       Solid Wood / Furniture-Grade Plywood (Box)      |
| Good:       MDF (Excellent for Painted Doors Only)          |
| Red Flag:   Particleboard / Low-Density Fiberboard          |
+-------------------------------------------------------------+
Cabinet Box Construction
Look for cabinet boxes constructed from solid hardwood or high-quality plywood (specifically multi-layer furniture-grade plywood). Plywood is incredibly stable; its alternating grain layers resist expansion and contraction caused by humidity.
You should always verify that the vanity features high-quality interior hardware. Look for soft-close drawer glides and soft-close door hinges. These features prevent slamming, reduce wear and tear on the cabinet frame, and keep the bathroom quiet during early-morning routines.
Doors and Drawer Fronts
Medium-Density Fiberboard (MDF) is a dense, engineered wood product. While you should avoid it for the load-bearing cabinet box, MDF is actually an excellent choice for painted cabinet doors and drawer fronts. Because MDF does not have a natural grain, it does not expand and contract like solid wood, meaning painted finishes on MDF are highly stable and won't develop hairline cracks at the joints.
The Ultimate Red Flag: Particleboard
Avoid low-density particleboard (often disguised under terms like "furniture board" or "compressed wood"). If water leaks past a sink seal or seeps under the vanity base, particleboard acts like a sponge. It swells, crumbles, and loses its structural integrity. If a vanity feels unusually light or is surprisingly inexpensive, check the spec sheet for particleboard.
Countertops and Sinks
The vanity top takes the brunt of daily use, from spilled makeup to toothpaste and soapy water.
Choosing a Countertop Material
- Quartz: By far the most common choice in modern remodels. Quartz is an engineered stone that is highly durable, non-porous, and completely resistant to staining and etching. It does not require sealing.
- Natural Stone (Marble & Granite): Unmatched in natural beauty. However, stones like Carrara marble are porous and prone to etching from acidic liquids (like citrus or certain face washes) and staining from hair dyes. Natural stone must be sealed at least once a year.
- Solid Surface: A seamless, acrylic-based material. It is non-porous and incredibly hygienic because the countertop and sink can be fused together with no visible seams. While scratchable, it can be sanded down and buffed out by a professional.
- Porcelain Slab: A rapidly growing trend. Extremely hard, scratch-resistant, and impervious to heat and stains. It can mimic the look of rare marbles beautifully, though it can crack if a heavy glass bottle is dropped directly on the edge.
Sink Styles
Your choice of sink determines how easy the countertop is to wipe down.
- Undermount Sinks: This is the industry standard for a clean look. The sink mounts beneath the countertop cutout, leaving a seamless edge. You can wipe water and debris directly from the counter into the sink basin without catching on a lip.
- Integrated Sinks: Created out of the same material as the countertop (frequently quartz or solid surface) as one continuous piece. There are no seams or caulked edges, making integrated sinks the absolute easiest option to keep clean.
- Vessel Sinks: These sit on top of the counter like a bowl. While they make a dramatic design statement, they are inherently more prone to splashing and are harder to clean around the exterior base. They also require a lower cabinet height to keep the rim of the bowl at a comfortable level.
- Semi-Recessed Sinks: The sink sits partially dropped into the counter but still has a raised lip or front apron protruding. This is a great compromise if you want a deeper basin in a shallower-depth cabinet.
Smarter Storage: Planning Around the Plumbing
A vanity can have a massive footprint but still offer poor storage if the interior layout isn't planned carefully.
Because water lines and drain pipes must take up the middle bay of a vanity cabinet, drawers are historically relegated to the sides. However, modern vanity design works around this. Look for vanities that feature U-shaped drawers that curve around the plumbing trap under the sink. This allows you to utilize the valuable top-drawer space directly under the basin for small items like toothbrushes and cosmetics.
       [ U-Shaped Drawer Top ]
    +---------------------------+
    |   *****           *****   |  <-- Storage areas on sides
    |   *   *           *   *   |
    |   *   * _ _ _ _ _ *   *   |
    |   *               *   |  <-- Cutout accommodates plumbing
    +---------------------------+
Drawers are almost always superior to deep cabinet doors with open cavities because they bring your items out to you, preventing bottles from getting lost in the dark back corners.
To maximize utility, plan for built-in drawer outlets. Many modern vanities feature integrated, code-compliant power strips inside a deep drawer. This allows you to keep styling tools like hairdryers, straighteners, and electric toothbrushes plugged in and ready to use, entirely hidden from the countertop surface.
Faucet Configurations
When purchasing your faucet, ensure the hole drillings on your countertop match the faucet’s design.
- Single-Hole Faucets: A single lever controls both hot and cold water. This design is highly popular for its clean, clutter-free look on the countertop.
- Widespread Faucets: Feature separate hot and cold handles spaced 8 inches apart, with a centralized spout. This is a classic, upscale look that works well in transitional and traditional baths.
- Wall-Mount Faucets: Mounted directly into the wall framing above the vanity. This keeps the countertop completely clear of hardware, making cleanup incredibly simple. However, wall-mount faucets require precise rough-in plumbing behind the drywall and are more complex to repair or replace down the road.
Framing the Space: Mirrors and Lighting
The area above your vanity is the focal point of the bathroom. Getting the lighting and mirrors right is essential for both grooming and ambiance.
Wall Sconces vs. Overhead Lighting
A common mistake is relying solely on overhead recessed can lights above the vanity. This casts harsh, downward shadows on your face—the exact opposite of what you want when shaving or applying makeup.
Instead, install wall sconces on either side of the vanity mirror. Sconces should typically be mounted 66 to 70 inches from the finished floor to the center of the light source. This puts the light at eye level, casting soft, even light across your face. If you are tight on wall space, another excellent option is a high-quality, front-lit LED mirror, which provides integrated, shadow-free illumination build directly into the glass frame.
Planning a bathroom remodel involves balancing design choices with structural requirements. If you are ready to update your space with a custom-tailored vanity layout, we invite you to reach out to the team at Modern Builders of America for a free in-home estimate. Our design and construction specialists will help you select the ideal materials, layout, and storage solutions to elevate your daily routine.