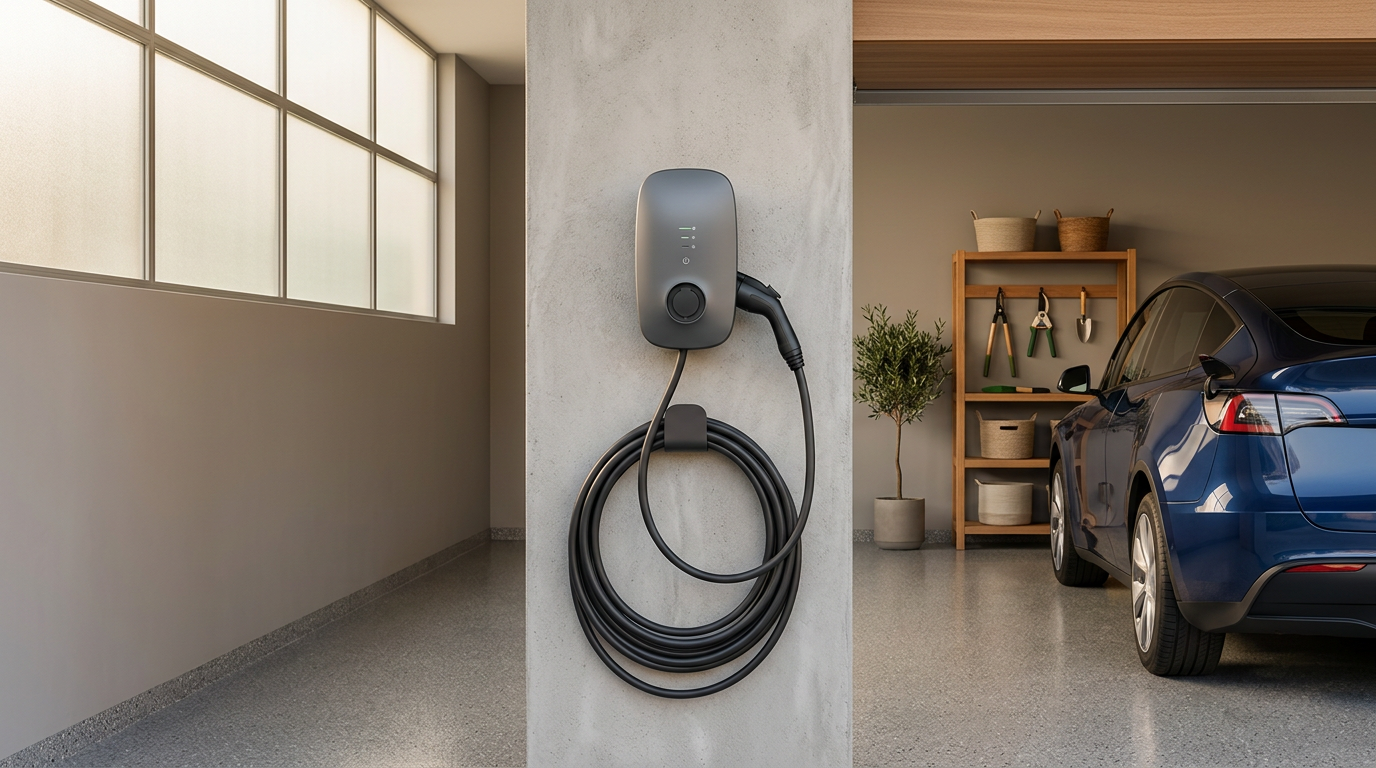
If you’ve recently purchased an electric vehicle, or are planning to buy one soon, you’re likely realizing that the home charging experience is just as important as the car itself. While public charging infrastructure is improving, nothing beats the convenience of waking up every morning with a full battery.
Installing a home charging station is a relatively straightforward electrical upgrade, but it requires making several technical choices regarding speed, safety, and your home’s existing electrical capacity. Understanding these variables ensures you install a system that is safe, efficient, and cost-effective for your daily driving habits.
Understanding the Three Levels of EV Charging
Before looking at your electrical panel, it is important to understand how EV charging is categorized. Charging equipment is divided into three distinct levels, determined by voltage and speed.
| Charging Level | Voltage | Typical Added Range Per Hour | Best Use Case |
|---|---|---|---|
| Level 1 | 120V AC | 3 to 5 miles | Plug-in hybrids, short daily commutes, overnight charging |
| Level 2 | 240V AC | 25 to 45 miles | Standard for all all-electric vehicles; overnight full charges |
| Level 3 (DC Fast) | 480V+ DC | 100 to 200+ miles (in 30 mins) | Commercial only; not compatible with residential electrical service |
Level 1: The Standard Wall Outlet
Level 1 charging uses the standard 120-volt household outlet that you plug your phone or toaster into. Every EV comes with a Level 1 charging cable that can plug directly into these outlets. Because it only delivers about 1.4 kilowatts of power, it is incredibly slow—adding only 3 to 5 miles of range per hour of charging.
If you drive a plug-in hybrid (PHEV) with a small battery, or if your daily commute is under 30 miles, Level 1 might be all you need. For fully electric vehicles with large batteries, however, Level 1 is rarely sufficient as a primary charging method.
Level 2: The Residential Standard
Level 2 charging operates on a 240-volt circuit—the same voltage used by electric clothes dryers, water heaters, and central air systems. It provides between 7.2 and 11.5 kilowatts of power, adding 25 to 45 miles of range per hour depending on the amperage.
For the vast majority of EV owners, a Level 2 charger is the standard. It allows you to fully charge almost any EV battery overnight, taking advantage of cheaper, off-peak electricity rates.
Level 3: Commercial DC Fast Charging
Level 3 charging, often called DC Fast Charging, operates on direct current (DC) rather than alternating current (AC). These systems require 480-volt three-phase power or higher, drawing massive amounts of electricity to charge an EV to 80% in under 30 minutes.
Because of these extreme power requirements and the high cost of the equipment, Level 3 chargers are strictly commercial and cannot be installed in residential homes.
Amperage Sizing: Finding the Sweet Spot
When planning a Level 2 installation, your primary decision involves choosing the amperage of the circuit. The National Electrical Code (NEC) requires that charging circuits be rated for continuous load, meaning the circuit breaker and wiring must be sized to handle 125% of the charger's actual output.
The 40-Amp Charger on a 50-Amp Circuit (The Sweet Spot)
For most homeowners, a 40-amp charger running on a 50-amp circuit represents the ultimate value sweet spot. It delivers roughly 9.6 kW of power, which easily replenishes 30 to 35 miles of range per hour. This setup is highly compatible with existing home electrical systems and strikes the ideal balance between fast charging speeds and moderate installation costs.
The 48-Amp Charger on a 60-Amp Circuit (Max Standard Speed)
If you have a long daily commute or a vehicle with an exceptionally large battery pack, a 48-amp charger running on a 60-amp circuit is the next step up. It delivers 11.5 kW of power, yielding 40 to 45 miles of range per hour.
However, under the NEC, any residential EV charger drawing more than 40 amps of continuous current cannot use a plug; it must be permanently hardwired into the electrical junction box.
The 80-Amp Charger (Extreme Speed, Rare Needs)
While some high-end electric vehicles can accept up to 80 amps of continuous power (requiring a massive 100-amp dedicated circuit), these chargers are rarely practical. They deliver up to 19.2 kW of power, but very few homes have the spare electrical capacity to support them without an expensive service upgrade from the utility company.
Hardwired vs. Plug-In Chargers
When purchasing your Level 2 charging station (often called an EVSE, or Electric Vehicle Supply Equipment), you will need to choose between a plug-in unit and a hardwired unit.
                  [ ELECTRICAL PANEL ]
                           |
          +----------------+----------------+
          |                                 |
  [ Plug-In (NEMA 14-50) ]           [ Hardwired ]
   - Max 40A charging                 - Max 48A+ charging
   - Portable, easy to swap           - Cleaner, safer connection
   - Requires GFCI breaker            - Rated for harsh outdoor use
Plug-In Chargers (NEMA 14-50)
A plug-in charger connects to a heavy-duty 240V outlet, most commonly a NEMA 14-50 receptacle (the standard outlet for modern RVs and electric ranges).
- Pros: The charger is portable. If you move, or if the unit fails, you can easily unplug it and take it with you or swap it out without calling an electrician.
- Cons: Limited to a maximum of 40 amps of charging. Additionally, the NEC requires a GFCI breaker for outdoor outlets and garage outlets, which can sometimes cause "nuisance tripping" when paired with the built-in ground-fault protection inside the EV charger itself.
Hardwired Chargers
A hardwired charger is connected directly to your home’s electrical wiring with no plug or outlet in between.
- Pros: Required for speeds above 40 amps (like a 48-amp charger on a 60-amp circuit). Hardwiring eliminates a physical plug connection, which reduces the number of potential failure points where heat can build up. It also eliminates the need for an expensive GFCI circuit breaker, saving you money on material costs.
- Cons: If the charging unit needs to be replaced or moved, you will need to shut off the power at the main panel and manually disconnect the wiring.
Main Panel Considerations and Load Calculations
Before running any wires, you or your electrician must perform a household load calculation. Older homes often have 100-amp electrical panels, while newer homes typically have 200-amp services.
Adding a 50-amp or 60-amp dedicated circuit for an EV charger represents a significant increase in your home’s electrical demand. If your daily household appliances—like your HVAC, electric range, clothes dryer, and water heater—are already pulling close to your panel’s capacity, adding an EV charger could overload the system.
If a load calculation reveals that your panel is at or near its limit, you have a few ways to resolve the issue:
- Smart Load-Management Systems: Technology like the Wallbox Power Boost, DCC-9, or Tesla’s Wall Connector load-sharing feature can monitor your home's real-time electricity usage. If you turn on your oven and clothes dryer at the same time, these smart systems will automatically temporarily pause or slow down your EV charging speed to prevent overloading your panel, ramping back up once household usage drops.
- Subpanel Installation: If your main breaker panel has plenty of electrical capacity but is physically out of space for new breakers, installing a small subpanel nearby is a cost-effective way to add the necessary breaker space.
- Full Service Upgrade: In older homes with 100-amp panels and multiple high-draw electric appliances, the most robust, future-proof solution is to upgrade your entire electrical service to 200 amps. While this is a larger investment, it prepares your home for future electrification needs, such as heat pumps or solar arrays.
Placement, Weatherproofing, and Smart Features
To get the most out of your installation, keep these practical daily use factors in mind:
Charger Placement and Cable Length
Always mount the charging unit as close as possible to your vehicle's charge port. Remember that different EV makes have charge ports in different locations (front-left fender, rear-right corner, etc.).
Most quality charging stations come with cables ranging from 18 to 25 feet. A longer cable gives you the flexibility to park nose-in or nose-out, or even run the cable to a car parked in the driveway if your garage is full.
Weatherproofing for Outdoor Installations
If you plan to install your charger outdoors on the side of your house or on a dedicated pedestal, make sure the unit carries a NEMA 3R or NEMA 4 rating. This ensures the enclosure is completely sealed against rain, snow, blowing dust, and ice.
Smart Charger Features
While a basic "dumb" charger simply delivers electricity when plugged in, a smart, Wi-Fi-enabled charger offers several key benefits:
- Scheduled Charging: Many utility companies offer discounted "time-of-use" rates late at night. You can plug your car in at 6 PM, but program the smart charger to only draw power between midnight and 6 AM, drastically lowering your fuel costs.
- Energy Tracking: Smart chargers compile detailed reports on exactly how many kilowatt-hours you are using and what those charging sessions cost you over time.
Installing a home EV charging station is one of the best upgrades you can make to your home, adding convenience, speed, and real-world value to your property. To ensure your system is installed safely, complies with all local building codes, and won't overload your electrical panel, a licensed electrician should always run the dedicated circuit, perform the load calculations, and pull the necessary permits. If you are ready to explore your options for an EV charger installation, feel free to contact Modern Builders of America for a free in-home estimate.