When you look at a newly completed home, it is easy to be captivated by the visible details: the wide-plank flooring, the stone countertops, and the pristine paint. But the true quality of a home lies in the assemblies you will never see once the drywall is hung. A house that remains dry, draft-free, and clear of pests is the result of deliberate decisions made during the excavation, framing, and rough-in phases of construction.
Building a high-performance home requires a systematic approach to sealing the envelope against water, air, and pests. By understanding how these hidden systems work, you can know exactly what to look for during your site walkthroughs and ensure your investment is built to last for generations.
The Foundation: Your Home’s First Line of Defense
Moisture and pests both start at the ground level. Long before the walls are framed, several critical barriers must be established to keep the earth’s elements from migrating upward into your living space.
Pre-Slab Termite Treatment and Sealed Penetrations
Before the concrete slab is poured, the soil beneath it must be treated with a termiticide to create a chemical barrier. However, chemicals degrade over time, which is why physical barriers are just as important. Every pipe, conduit, and utility line that pierces the concrete slab must be wrapped and sealed. Any tiny gap between the concrete and a plumbing pipe is an open highway for subterranean termites seeking wood framing. High-durability collars and heavy-duty elastomeric sealants applied around these penetrations ensure that as the concrete cures and shrinks, no gaps are left behind.
The Capillary Break and Sub-Slab Vapor Barrier
Concrete is a sponge; it easily absorbs moisture from the damp earth through capillary action. To prevent this moisture from migrating upward into your flooring, a heavy-duty poly vapor barrier (typically 10-mil to 15-mil thick) is laid over the gravel bed before the concrete is poured.
At the top of the foundation wall, where the wood framing meets the concrete, a physical "capillary break" is required. This is usually a closed-cell foam sill sealer. Without this simple strip of foam, moisture from the foundation would slowly seep into the wood bottom plates, leading to rot and mold over time.
| Foundation Detail | Purpose | Materials Used |
|---|---|---|
| Sill Sealer | Stops capillary draw of moisture into wood framing | Closed-cell foam gasket |
| Vapor Barrier | Blocks ground moisture from rising through the slab | 10 to 15-mil polyethylene sheeting |
| Soil Sloping | Directs surface water away from the foundation | Ground sloped 6 inches in the first 10 feet |
| Penetration Seals | Prevents pest and moisture entry around utility pipes | Polyurethane sealant, termiticide, specialized collars |
Proper Grade Slope
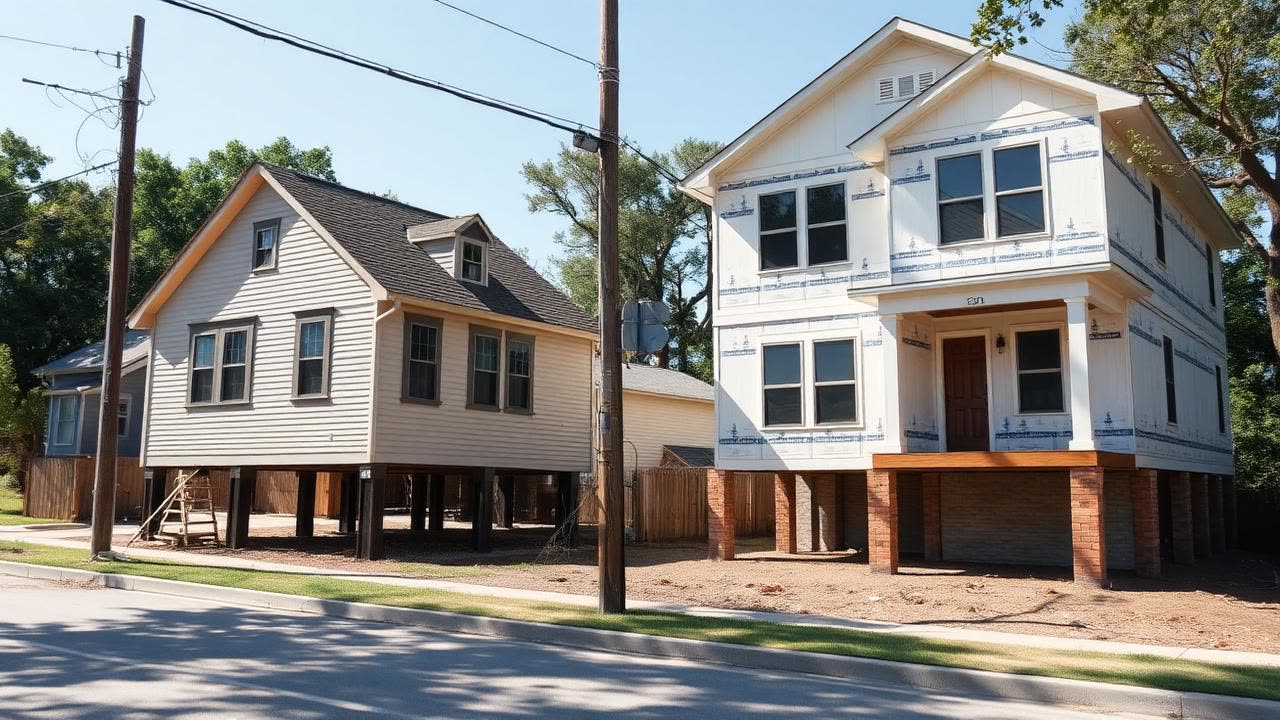
Water management starts with gravity. The ground immediately surrounding your foundation must slope away from the house. A standard rule of thumb is a drop of at least six inches within the first ten feet of the foundation wall. This ensures that heavy rain shed by the roof runs away from the house rather than pooling at the base of your walls.
Framing and the Outer Shell: Keeping the Air Out
Once the house is framed, the focus shifts to air sealing. Controlling air movement is not just about saving energy; it is about preventing warm, moist indoor air from escaping into cold wall cavities, where it can condense and cause dry rot.
Sill Sealers and Bottom Plate Gaskets
The joint between the wood framing and the concrete foundation is notoriously uneven. Even a minor gap can allow cubic feet of unconditioned air—and crawling insects—into your home every minute. In addition to the standard roll-formed sill sealer, high-performance builders apply a thick bead of polyurethane sealant or a specialty compressible foam gasket directly to the underside of the exterior wall's bottom plate before tipping the walls up.
       [ Exterior Siding ]
               |
      [ Sheathing / WRB ]
               |
  [ Bottom Plate / Framing ]
=======||====[ Polyurethane Sealant / Gasket ]====
  [ Concrete Foundation Slab ]
Blocking Around Penetrations
Wherever plumbing, electrical wiring, or HVAC ductwork passes through top plates, bottom plates, or exterior walls, the framing must be sealed. Solid wood blocking is installed around larger penetrations, and any remaining micro-gaps are filled with fire-rated expanding foam or exterior-grade caulking.
The Weather-Resistive Barrier (WRB) and Flashing
The WRB is your home’s raincoat. It sits directly behind your siding, shedding any water that sneaks past the exterior cladding while still allowing internal moisture vapor to escape.
Choosing and Taping the Barrier
Modern building utilizes two primary methods for this layer:
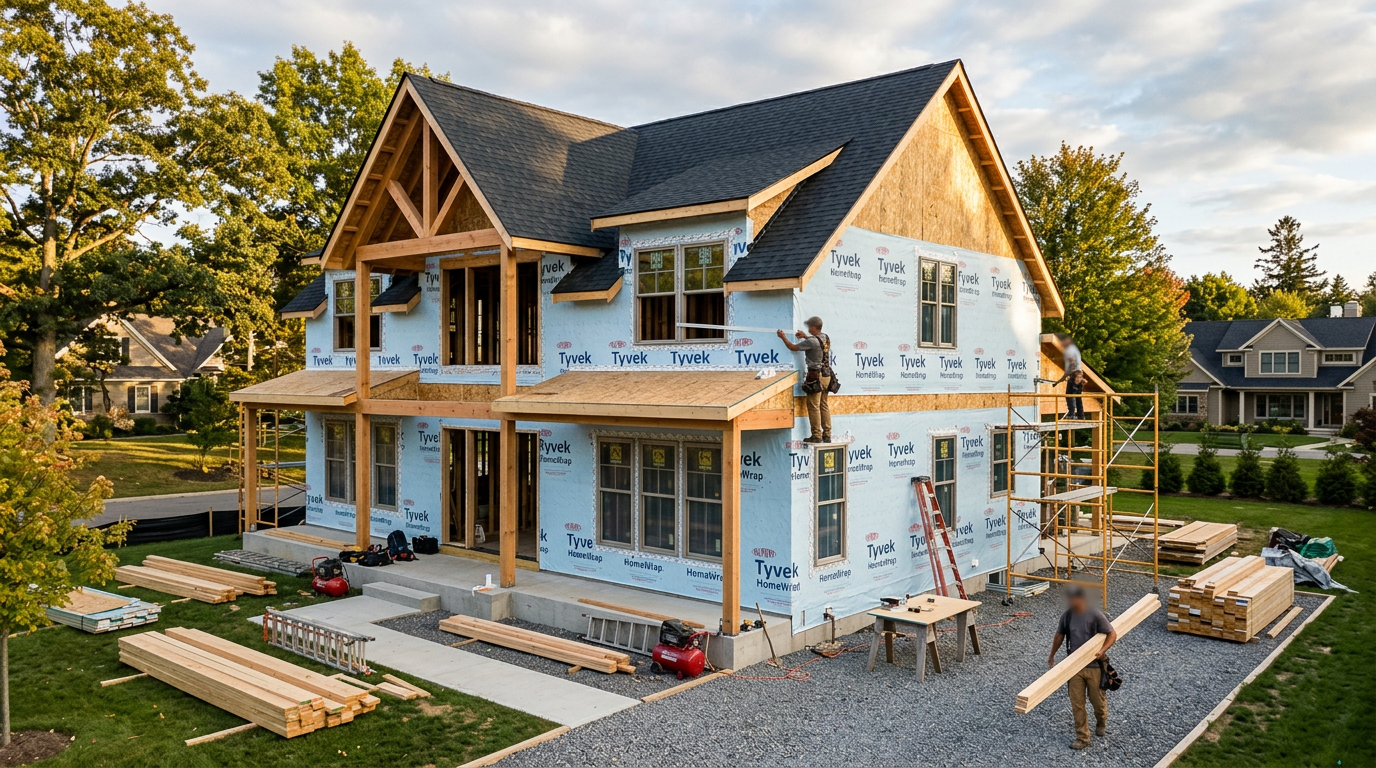
- Premium House Wrap: High-performance wraps, such as Tyvek CommercialWrap, are wrapped around the sheathing. All seams, horizontal and vertical, must be taped with proprietary system tape to create a continuous wind and water barrier.
- Integrated Sheathing Systems: Systems like Zip System sheathing combine the structural wood panel and the weather barrier into one product. The panels are installed, and the seams are rolled with a highly durable system tape.
Regardless of the system, the key to success is the "shingle-lap" detail. Just like roof shingles, every layer of wrap or flashing must overlap the layer beneath it. This ensures that gravity naturally coaxes water down and out, rather than directing it behind the lower layer.
Window and Door Flashing
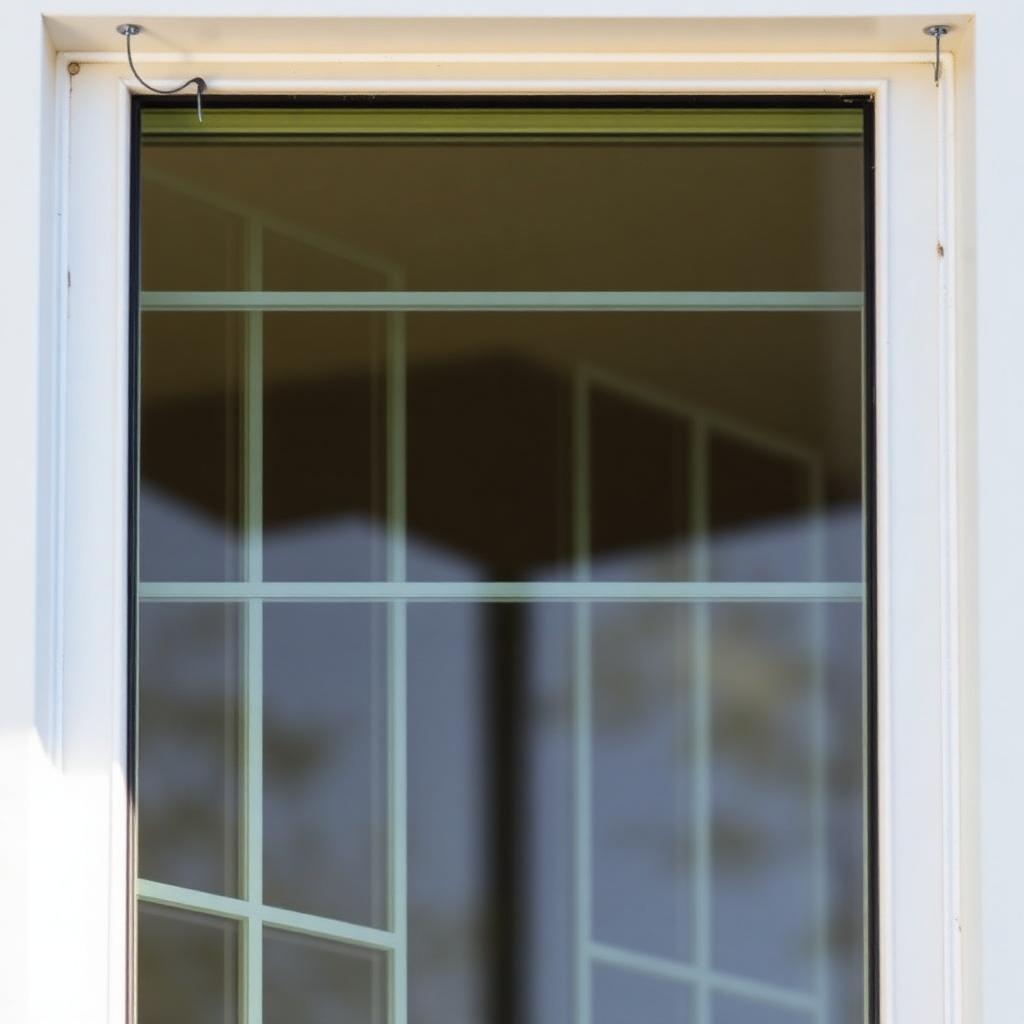
Windows and doors are the most common leak points in any home. To prevent water damage, every rough opening must be properly flashed before the window is installed.
- Sill Pans: A sloped sill pan is installed at the bottom of the window opening. If water ever gets past the window frame, it hits this pan and drains harmlessly out to the exterior.
- Flashing Tape: Self-adhering flashing tape is applied to the sides (jambs) and then the top (head) of the window, always maintaining the shingle-lap order.
- Head Flashing: A metal drip cap is installed above the window trim to direct water away from the top joint entirely.
Precision Air Sealing: Inside the Drywall Cavity
Air sealing is a painstaking process of hunting down tiny holes. An airtight home reduces drafts, keeps pollen and dust outside, and makes your heating and cooling systems run quietly and efficiently.
Sealing Every Penetration
Before the insulation is installed, a technician should walk the home with a caulking gun and cans of low-expansion foam, sealing:
- Every wire penetration through stud bays.
- HVAC boot connections to the subfloor or drywall plaster guards.
- Bathroom exhaust fan housings.
- Pipes passing through exterior walls (such as outdoor hose bibs).
Redefining the Ceiling Air Barrier
Recessed "can" lights are notorious for leaking conditioned air into the unconditioned attic space. The best practice is to use airtight, IC-rated (insulation contact) LED canisters that are sealed to the drywall with gaskets.
Even better, many modern builds utilize ultra-thin wafer LED lights that do not require a housing box at all, keeping the ceiling drywall plane entirely continuous and unbroken.
Invisible Pest Control: Keeping Bugs Outside
A well-sealed home naturally keeps pests out, but specific details must be executed during construction to prevent insects and rodents from finding their way inside.
- Weep Hole Protection: Brick veneer homes require weep holes at the bottom of the wall to allow trapped moisture to escape. These openings are perfect entryways for mice and wasps. Installing fine stainless-steel mesh inserts or specialized weep hole covers keeps pests out while letting water drain freely.
- Under-Sink Pipe Penetrations: The drywall cutouts for sink plumbing are often oversized. Sealing these gaps with escutcheon plates and expandable foam behind cabinet backs prevents pests from migrating from the crawlspace or wall cavities into your kitchen.
- Gasketed Electrical Boxes: On exterior walls, electrical boxes should be fitted with air-impermeable foam gaskets and sealed to the drywall to prevent bugs from using outlet covers as entry points.
- Roof and Crawlspace Vents: All attic ridge vents, soffit vents, and crawlspace vents must be backed by a durable, heavy-duty wire mesh (typically 1/4-inch or 1/8-inch hardware cloth) to stop squirrels, bats, and large insects from nested in your rafters.
- Zero Wood-to-Soil Contact: No wood framing, siding, or trim should ever come into contact with the bare earth. All wood components must terminate at least six inches above the finished grade to deter subterranean termites.
Advanced Roof Details: Fighting Water and Ice
The roof takes the brunt of the weather. While shingles shed the majority of the water, vulnerable areas require extra protection.
In valleys, along roof-to-wall intersections, and around chimneys and plumbing vents, standard underlayment is not enough. A self-adhering, rubberized asphalt membrane—often called an ice-and-water shield—is applied directly to the wood roof sheathing before the final roofing material goes on. This membrane seals tightly around every nail driven through it, providing a watertight seal even if water backs up under the shingles due to ice damming or wind-driven rain.
Additionally, ridge vents must be equipped with internal baffle and screen systems. This prevents heavy, wind-driven rain from being blown upward and backward into your attic space, while also keeping nesting pests away from your roof structure.
Verifying the Work: The Blower Door Test
How do we prove that these hidden systems were installed correctly? The industry standard is the blower door test.
During this test, a powerful fan is mounted to an exterior door frame to depressurize the house. This forces drafty air through any remaining unsealed gaps in the home's envelope. A pressure gauge measures the air leakage rate at 50 Pascals of pressure.
[ Blower Door Fan ] === Depressurizes House ===> Directs Air Inward Through Unsealed Gaps
                                                      |
                                           [ Diagnostic Pressure Gauge ]
                                                      |
                                          Yields Final ACH50 Rating
We target a leakage rate of 3 ACH50 (Air Changes per Hour at 50 Pascals) or lower. Achieving this target means your home is incredibly tight, providing you with a quiet, energy-efficient interior that is highly resistant to moisture accumulation and insect intrusion.
What You Can Inspect on Your Walkthroughs
As a homeowner, you do not have to wait until the house is finished to know it was built right. During your pre-drywall walkthrough, look for these specific indicators of quality framing and sealing:
- Look at the bottom plates: Are there visible drafts or gaps, or can you see the foam sill sealer and beads of sealant squeezed flat under the wood?
- Check the windows: Look closely at the exterior. Is the flashing tape applied flat without wrinkles, and is it layered so the top pieces overlap the bottom pieces?
- Inspect the plumbing runs: Look under the sinks and tubs. Is there bright orange or yellow expanding foam filling the gaps around the pipes where they pass through the floor?
- Examine the house wrap: Are there any tears or un-taped seams on the exterior of the house? A quality builder will have patched every single tear before the siding began.
Every one of these details represents a critical layer of defense for your home. While they are eventually covered by beautiful finishes, their execution determines how comfortable, dry, and secure your family will be for decades to come.
If you are planning a new build or a major addition and want to ensure these high-performance details are managed with expert care, we invite you to reach out to Modern Builders of America for a free in-home estimate by visiting our contact page.