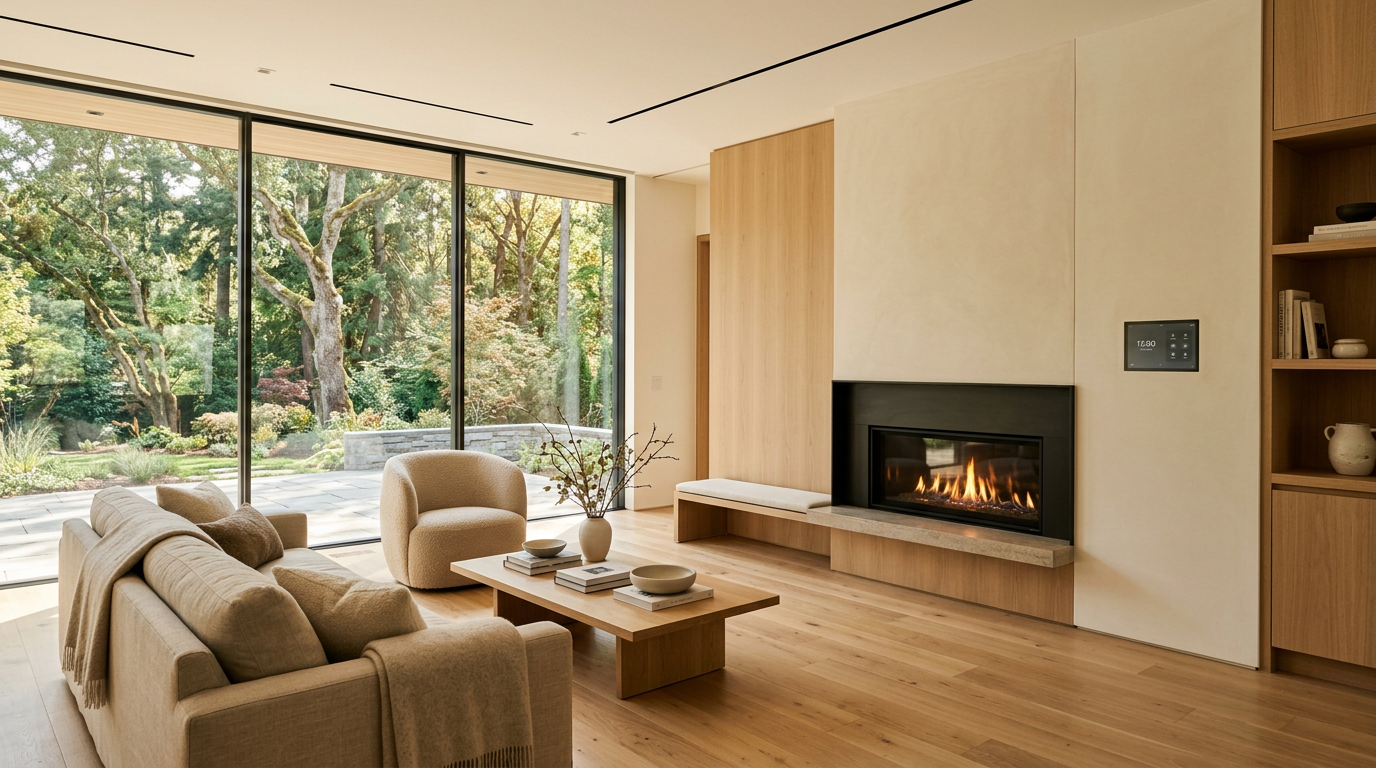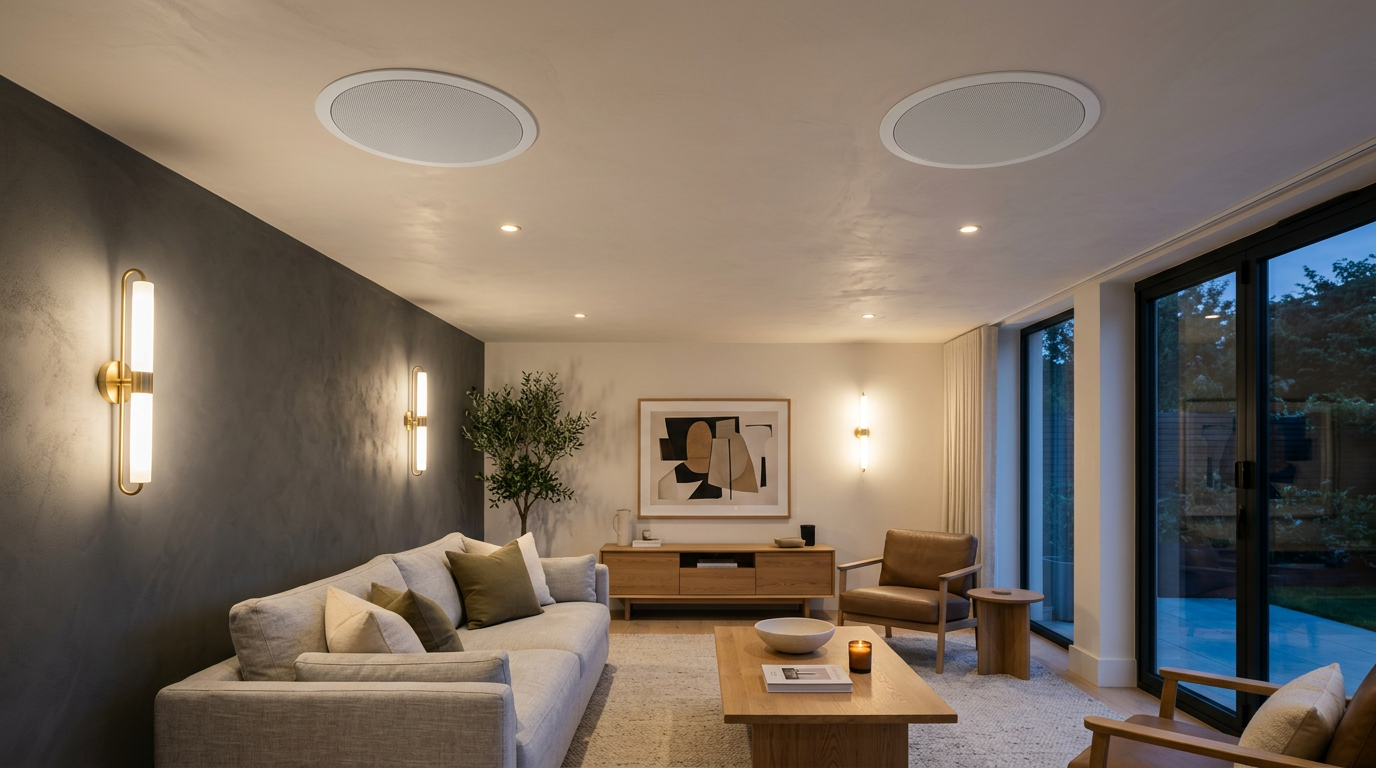
When you are planning a major home remodel, it is easy to focus entirely on what you can see: the custom cabinetry, the quartz countertops, and the wide-plank flooring. But the homes that feel truly luxurious are the ones that also consider what you can hear. A professionally installed, in-ceiling whole-home audio system is one of those features that changes the entire daily experience of your home, filling your space with warm, balanced sound without cluttering your design with bulky speaker cabinets and tangled wires.
Getting whole-home audio right requires planning before the drywall goes up. If you wait until the end of the project to think about speakers, you will end up with compromised placement, torn-up plaster, or limited zoning. Here is how to plan an invisible, high-performance audio system that integrates seamlessly into your remodeling plans.
Choosing the Right Speaker Sizes
In-ceiling speakers are not one-size-fits-all. The size of the speaker cone dictates both the frequency response (how deep the bass is) and how the speaker fits visually into your ceiling.
- 6.5-Inch Speakers (The Standard): This is the workhorse of residential audio. A 6.5-inch speaker offers the ideal balance of physical size and acoustic performance. It is large enough to deliver a warm, full sound with respectable mid-bass, yet small enough to blend into a ceiling alongside standard recessed lighting. Use these in standard living areas, kitchens, and bedrooms.
- 8-Inch Speakers (For Large, Open Spaces): In great rooms, foyer areas with soaring ceilings, or open-concept basement family rooms, smaller speakers can sound thin and strained. An 8-inch speaker moves more air, delivering deeper, richer bass and filling large volumes of space with ease.
- 4-Inch Speakers (For Small, Utility Spaces): In powder rooms, walk-in closets, or narrow hallways, larger speakers look visually overwhelming and are acoustically unnecessary. A 4-inch speaker offers a compact footprint that mimics the size of modern LED trim lights, providing pleasant ambient music without dominating the ceiling.
| Speaker Size | Best Used For | Visual Impact |
|---|---|---|
| 4-Inch | Powder rooms, walk-in closets, hallways | Very subtle, matches small LED cans |
| 6.5-Inch | Kitchens, standard bedrooms, family rooms | Balanced, matches standard recess lights |
| 8-Inch | High-ceiling great rooms, large open layouts | Noticeable footprint, but powerful sound |
Stereo Pairs vs. Dual Voice Coil Speakers
Most of the music we listen to is recorded in stereo, meaning there is a distinct left and right channel. To experience true stereo imaging, you need a pair of speakers spaced apart. In most medium-to-large rooms, you will want to install a standard stereo pair (one left channel speaker, one right channel speaker) to create a wide, natural soundstage.
However, in small, enclosed rooms like a master bathroom, laundry room, or walk-in closet, installing two separate speakers is often impractical due to ceiling space and joist layouts. Furthermore, if you stand directly under a left speaker in a small bathroom, you will miss half of the instruments in your favorite song.
For these tight spaces, we use a dual voice coil (DVC) speaker. A DVC speaker accepts both the left and right wire connections into a single physical speaker chassis. It features two tweeters angled in opposite directions, allowing a single speaker location to play a combined stereo track. This ensures you hear the full depth of the music without needing to crowd your ceiling with multiple grilles.
Smart Zone Planning: Designing Your Layout
Whole-home audio is only as good as its zone control. A "zone" is an area or group of areas that you can control independently—meaning you can play jazz in the kitchen while the kids listen to a podcast on the patio, or group all zones together for a party.
When mapping out your remodel, we recommend establishing these five baseline zones at a minimum:
- The Kitchen: Dictates the social hub of the home. This zone needs clear, articulate sound that can cut through the noise of running water, extraction fans, and sizzling pans.
- The Living Room/Great Room: Designed for ambient daytime listening and fuller, richer evening soundtracks.
- The Primary Bedroom: Focused on low-key, relaxing morning and evening playlists.
- The Primary Bathroom: Great for catching up on morning news or relaxing in a soaking tub. This zone almost always utilizes a DVC speaker.
- The Patio / Outdoor Space: High-output audio designed to handle open-air acoustics.
The Brains of the Operation: Amplifiers and Streaming
All those ceiling speakers are passive, meaning they do not plug into a wall outlet; they require power and a signal from an amplifier. The amplifier is the brain of your audio system, typically tucked away out of sight in a media closet, utility room, or basement rack.
Multi-Zone Amplifiers
To run a modern multi-room system, you will use smart amplifiers designed specifically for whole-home audio. Brands like Sonos (with the Sonos Amp), Denon HEOS, and Russound are the industry standards.
You can approach this in one of two ways. You can buy individual, compact smart amplifiers (like a Sonos Amp) for each zone, stacking them together in a central location. Alternatively, you can install a single, large multi-zone amplifier chassis that has several zones built into one box.
How Streaming Inputs Work
Once your amplifiers are wired to the speakers, control is entirely digital. Your household connects to the system via Wi-Fi. Using your phone, tablet, or home automation system (like Control4 or Crestron), you can instantly stream music from Spotify, Apple Music, Tidal, or local servers. Each family member can stream different content to different zones simultaneously, or sync them with a single tap for a seamless, house-wide audio experience.
Behind-the-Scenes Prepping and Wiring
The physical installation of the cabling and housing is the most critical phase of the process, and it must happen while the walls are open during rough-in framing.
The Home-Run Wiring Method
Every single speaker must have a direct, uninterrupted run of high-quality speaker wire running from its ceiling cutout back to your central equipment rack. This is called a "home-run" configuration. We never daisy-chain speaker wires from room to room.
For runs under 100 feet, we recommend 16-gauge, in-wall rated (CL2 or CL3) speaker wire. For longer runs, or for high-power zones like large outdoor areas, we step up to 14-gauge wire to prevent signal loss over the distance.
[Speaker Zone 1] <============ (Direct Home-Run 16/2 Wire) ============> [ Central ]
[Speaker Zone 2] <============ (Direct Home-Run 16/2 Wire) ============> [ AV Rack  ]
[Speaker Zone 3] <============ (Direct Home-Run 14/2 Wire) ============> [  Closet  ]
Ceiling Prep: Backer Boxes and Insulation Cans
Simply cutting a hole in drywall and dropping in a speaker is a missed opportunity for sound quality, and it can sometimes violate local building codes.
- Fire-Rated Backer Boxes: In many jurisdictions, especially in multi-family homes or when installing speakers below a lived-in floor, local building codes require a fire-rated backer box behind the speaker. This box maintains the fire barrier integrity of the drywall ceiling.
- Insulation and Sound Isolation: Sound travels upward. Without protection, an in-ceiling speaker in your kitchen will send a massive amount of acoustic energy directly through the floorboards into the bedroom upstairs. We install acoustic backer boxes or specialized speaker enclosures during the framing stage. These boxes contain the sound, directing it down into the listening room while drastically reducing the noise that bleeds into the rooms above. They also provide a consistent volume of air behind the speaker, which significantly improves bass response.
Strategic Speaker Placement Rules
Where you put the speakers matters just as much as which speakers you buy. A common mistake is placing in-ceiling speakers directly over seating areas.
If you put a speaker directly over your head while you sit on the couch, the sound will feel localized and unnatural—as if someone is whispering directly into your ear. For living areas, speakers should be placed slightly in front of or behind the main seating area, allowing the sound waves to disperse and mix before they reach your ears. Voices should sound like they are coming from the room, not from directly above your skull.
For optimal stereo imaging and even coverage, space your speaker pairs 6 to 10 feet apart. Keep them at least 2 feet away from side walls to avoid harsh acoustic reflections that muddy the high frequencies.
Extending the Sound Outdoors: Patios and Lawns
A true whole-home audio system does not stop at the back door. When designing your covered patio or backyard zones, the gear changes to handle the elements.
Under-Eave Speakers
For covered patios, we can still use in-ceiling speakers, but they must be specifically rated for moisture and humidity. These weather-resistant models use rust-proof powder-coated aluminum grilles and plastic speaker cones that won't warp or degrade in damp environments.
Dedicated Patio and Garden Zones
For open yards, pool decks, and garden paths, you want to bring the sound down to ground level. High-mounted speakers blaring music from the roofline can annoy neighbors and sound thin because the sound is lost to the open air.
Instead, we utilize specialized outdoor audio systems:
- Landscape Satellites and Subwoofers: These small, dark-green speakers are staked directly into garden beds, pointing inward toward your seating areas. They are paired with a subwoofer that is buried underground, leaving only a small mushroom-cap canopy visible. This setup provides rich, concert-quality sound at a volume that remains private to your yard.
- Rock Speakers: If you prefer your audio to be completely invisible, rock speakers blend naturally into stone walls, garden borders, and water features, combining rugged durability with surprising acoustic performance.
Planning Your Audiophile Upgrade
Integrating a high-performance, multi-room audio system into your home remodel requires careful coordination between your designer, carpenter, electrician, and AV specialist. Getting the wiring in place, selecting the right enclosures, and mapping your zones before the walls are sealed ensures a lifetime of beautiful, trouble-free sound.
If you are planning a home renovation and want to explore how a custom whole-home audio system can fit into your design, we are here to help. Contact the team at Modern Builders of America today to schedule a free in-home estimate at /contact, and let's build a space that looks and sounds incredible.