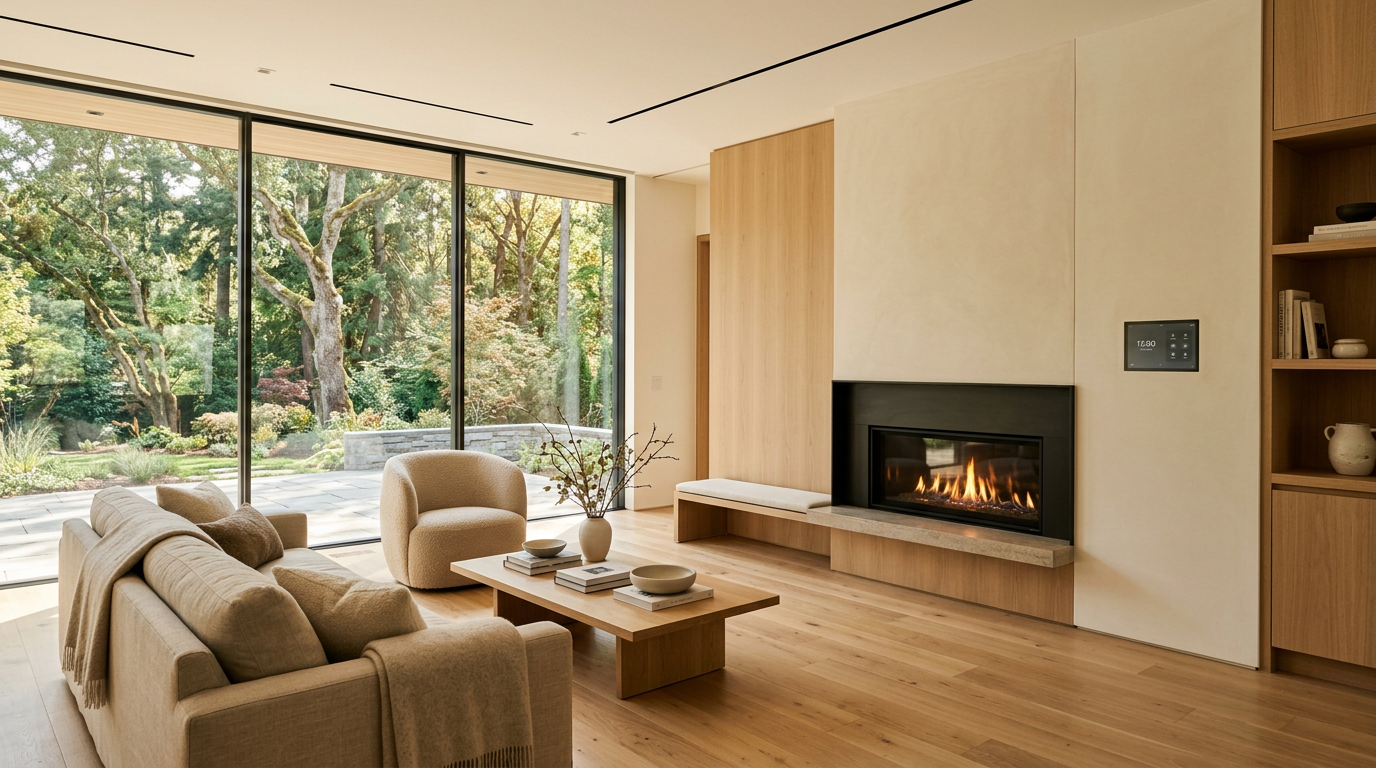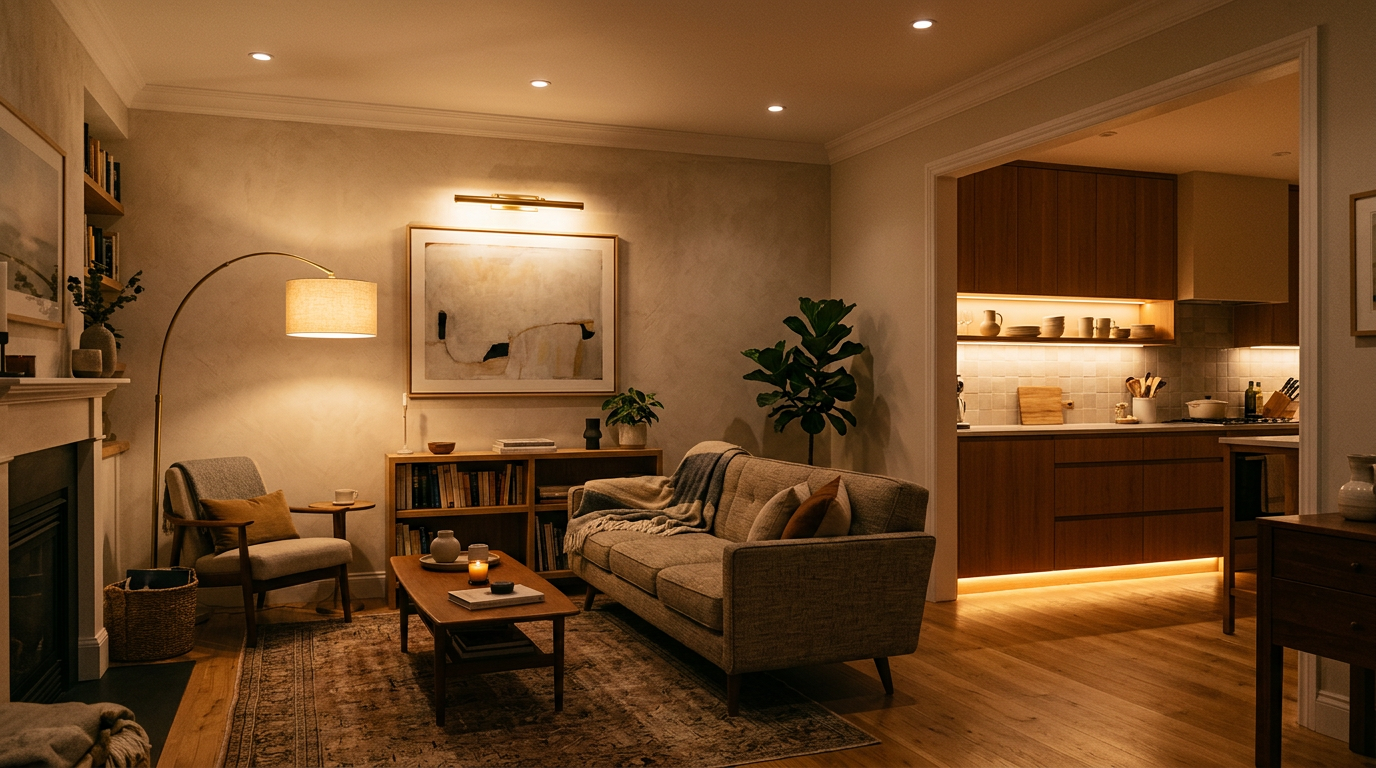
When you walk into a home that feels instantly welcoming, you are likely reacting to the lighting design, even if you don't realize it. Most people only notice lighting when it is done poorly—think of the harsh, clinical glare of an overhead fluorescents or a living room so dim you have to squint to read. Transforming a space from functional to truly comfortable relies on understanding how light shapes our emotions and behaviors.
To achieve a balanced, inviting home, you must move beyond the idea of a single overhead fixture. Truly successful residential lighting is built on layers, precise color temperatures, and intuitive controls.
The Three Layers of Light
In professional design, we never rely on a single source of light to do all the heavy lifting. Instead, we stack three distinct layers of light to build depth, eliminate harsh shadows, and give you complete control over the room's energy.
1. Ambient Lighting (General Room Light)
Ambient light is the foundation of your room’s illumination. It provides a comfortable level of overall brightness, allowing you to navigate the space safely.
- Recessed Cans: These are the workhorses of modern ambient lighting. Tucked flat against the ceiling, they provide clean, unobtrusive downward light.
- Flush Mounts and Semi-Flush Mounts: Ideal for hallways, bedrooms, and low ceilings, these fixtures distribute light outward and downward.
- Chandeliers and Large Pendants: While these serve as beautiful visual anchor points in dining rooms or entryways, their primary job is to cast a wide, soft glow across the entire room.
2. Task Lighting (Focused and Functional)
Task lighting is all about utility. It shines light exactly where you are working, preventing your head and body from casting shadows over your hands.
- Under-Cabinet LEDs: Essential in kitchens to illuminate countertops for safe meal preparation.
- Island Pendants: These hang lower than ambient fixtures, casting a direct, focused pool of light onto prep zones and casual dining surfaces.
- Vanity Sconces: Mounted at eye level on either side of a bathroom mirror, these eliminate the deep shadows under your eyes and chin that overhead lights often create.
- Reading Lamps: Adjustable floor lamps or bedside sconces that direct light onto a page without washing out the rest of the bedroom.
3. Accent Lighting (Drama and Depth)
Accent lighting is the secret ingredient that makes a home feel high-end. It isn't about utility; it is about drawing the eye to architectural features, artwork, or interesting textures.
- Picture Lights: Mounted directly above or below framed art to highlight colors and textures.
- Cove Lighting: Concealed LED strips tucked into ceiling coves or crown molding that wash the ceiling with a soft, floating glow.
- Toe-Kick Lighting: Installed beneath bathroom vanities or kitchen base cabinets. This low-level light creates a beautiful floating effect and acts as a perfect pathway light at night.
- Bias Lighting (LED Tape Behind the TV): Placing a strip of LED light behind a wall-mounted television reduces eye strain by softening the contrast between the bright screen and the dark wall.
Color Temperature and the Color Rendering Index (CRI)
Understanding light bulbs requires looking past wattage to two crucial technical specifications: Kelvin (K) and CRI. These dictate whether your home feels cozy and natural or cold and sterile.
The Kelvin Scale: Matching Light to the Room’s Purpose
Color temperature is measured in Kelvin. Lower numbers represent warm, amber-toned light, while higher numbers represent cool, blue-toned light. Choosing the wrong temperature can completely ruin a room's aesthetic.
| Color Temperature (Kelvin) | Light Quality | Best Used For |
|---|---|---|
| 2700K | Warm, golden, cozy glow | Living rooms, bedrooms, and dining areas where relaxation is the goal. |
| 3000K | Crisp, warm white (clean but welcoming) | Kitchens, bathrooms, and home offices. It keeps you alert while remaining inviting. |
| 3500K - 4000K | Cool, bright white (daylight mimicry) | Garages, utility rooms, and workshops where high visibility and concentration are required. |
Color Rendering Index (CRI): Ensuring Colors Look Real
Have you ever bought a piece of clothing that looked navy blue in the store but turned out to be pitch black when you got it home? That frustration is caused by a low Color Rendering Index.
CRI is a scale from 0 to 100 that measures how accurately a light source reveals the true colors of objects, surfaces, and human skin. For residential remodeling, always aim for a CRI of 90 or higher. High-CRI bulbs make hardwood floors look richer, paint colors look true to their swatches, food look more appetizing, and skin tones look healthy and natural.
The Art of Dimming
If you install beautiful fixtures but run them at 100% brightness all the time, you miss out on the emotional power of lighting. Dimming allows you to transition a kitchen from a bright homework station at 4:00 PM to an intimate, low-lit dinner spot at 7:00 PM. However, matching modern LED fixtures with the wrong dimmers is one of the most common mistakes in home remodeling.
In the old days of incandescent bulbs, dimming was simple: you just reduced the voltage. Modern LEDs are electronic devices, and they require compatible dimmer switches to operate smoothly.
- TRIAC / Phase-Cut Dimming: This is the standard residential dimming technology. It works by chopping up the AC voltage wave to reduce the power reaching the bulb.
- ELV (Electronic Low Voltage) Dimming: Specifically designed for low-voltage fixtures like under-cabinet LED tape or high-end recessed lights. ELV dimming requires a neutral wire at the switch box, but it offers incredibly smooth, silent dimming.
- 0-10V Dimming: Typically used in commercial spaces or high-end residential systems, this style uses a dedicated low-voltage signal wire to tell the light driver how bright to be. It is incredibly stable and can dim lights down to 1% without any issues.
The Danger of Cheap Dimmers
If you pair a cheap, older dimmer switch with modern LED bulbs, you will likely experience an annoying high-pitched buzzing sound, flickering lights, or "drop-out" (where the lights suddenly turn off when you try to dim them low). Always consult with your contractor or electrician to ensure your LED drivers and dimmer switches are explicitly compatibility-tested.
Smart Lighting: Scenes and Motion Sensors
Smart lighting has evolved far beyond novelty colored lightbulbs. Today’s smart systems integrate into your walls and switches to quietly improve how you experience your home every day.
Designing Scenes
Rather than walking around a room turning on four different lamps and adjusting three dimmers, smart lighting allows you to program "scenes." With one tap of a wall keypad, a voice command, or an automated schedule, every light in the room adjusts to its perfect level:
- Morning Scene: Kitchen and bathroom lights slowly ramp up to a soft, warm 2700K at 6:30 AM to help you wake up gently without a jarring glare.
- Dinner Scene: Overhead lights drop to 15%, island pendants dim to 30%, and under-cabinet lights glow softly to create an intimate bistro atmosphere.
- Movie Scene: Family room cans turn completely off, the accent light behind the television glows at 20%, and hallway lights dim to a 5% guide path.
- Sleep Scene: All main lights in the house turn off, while toe-kick lights in the master bath stay on at 1% for late-night navigation.
The Everyday Utility of Motion Sensors
We often think of motion sensors as outdoor security features, but they are a game-changer inside the house.
Placing discreet motion sensors in hallways, walk-in closets, pantries, and laundry rooms means you never have to fumble for a switch with your hands full of groceries or baskets of clothes. In the middle of the night, a motion sensor in the hallway can trigger path lights to turn on at a dim 10%, guiding your way to the kitchen for a glass of water without fully waking your brain.
Recessed Can Spacing: The Rules of Thumb
When putting together a lighting plan, you might wonder exactly where to place recessed cans in the ceiling. If you put them too close together, you waste energy and make the ceiling look cluttered. If you put them too far apart, you end up with dark, cavernous spots on your floor.
A classic, reliable rule of thumb for general layout is to divide the height of your ceiling by two to determine the distance between your cans.
$$\text{Ceiling Height} \div 2 = \text{Distance Between Cans}$$
For example:
- With an 8-foot ceiling, your cans should be placed roughly 4 feet apart.
- With a 10-foot ceiling, your cans should be placed roughly 5 feet apart.
Additionally, you generally want to pull your cans about 2 to 3 feet away from the walls to avoid casting harsh shadows down the drywall, unless you are intentionally trying to "wall-wash" a specific texture like brick or stone.
Bringing it All Together
A thoughtful lighting plan is what elevates a house from a simple structure to a true home. By layering your ambient, task, and accent sources, selecting the proper color temperatures, and investing in high-quality dimmers and controls, you can completely redefine how your living spaces look and feel throughout the day.
If you are planning a remodel and want to make sure your master suite, kitchen, or entire home is illuminated beautifully and functionally, we would love to help. Contact our design-build team for a free in-home estimate at /contact, and let's discuss how we can bring light and warmth to your next project.